1 ЧАСТЬ
 1
1
Create a new document.
The size here is really important because it will determine the angle of the coil. In this example I used 600x600. Look at the 2 examples at the end of the tutorial, the variation was created on 800x600, notice that the angle is a little wider and less round. Personally I think I prefer the 800x600, but experiment with different sizes and see how you like the results.
Create a new layer and choose filter>sketch>halftone pattern.
Size =2 (use higher for a higher res image)
Push the contrast pretty high
 2
2
Now rotate the pattern by pressing cmd/ctrl+T for free transform and then pulling one of the corners around.
(You may enlarge the pattern to fill more of the page if you wish.)
 3
3
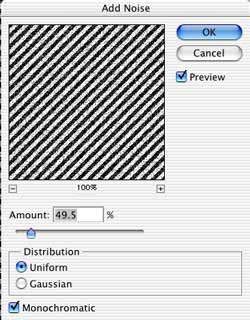
To give a more frayed look add some noise: filter>noise>add noise
 4
4
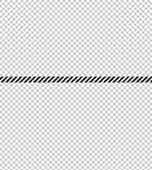
Make a selection with the rectangular marquee tool.
This will be a strand of rope
 5
5
Press Cmd/ctrl+J to copy the selection to a new layer.
Hide the layer underneath by clicking on the eye icon.
Position the rope near the center of the page
 6
6
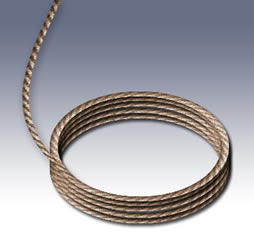
Lets make it coil… filter>distort>polar coordinates and choose rectangular to polar.